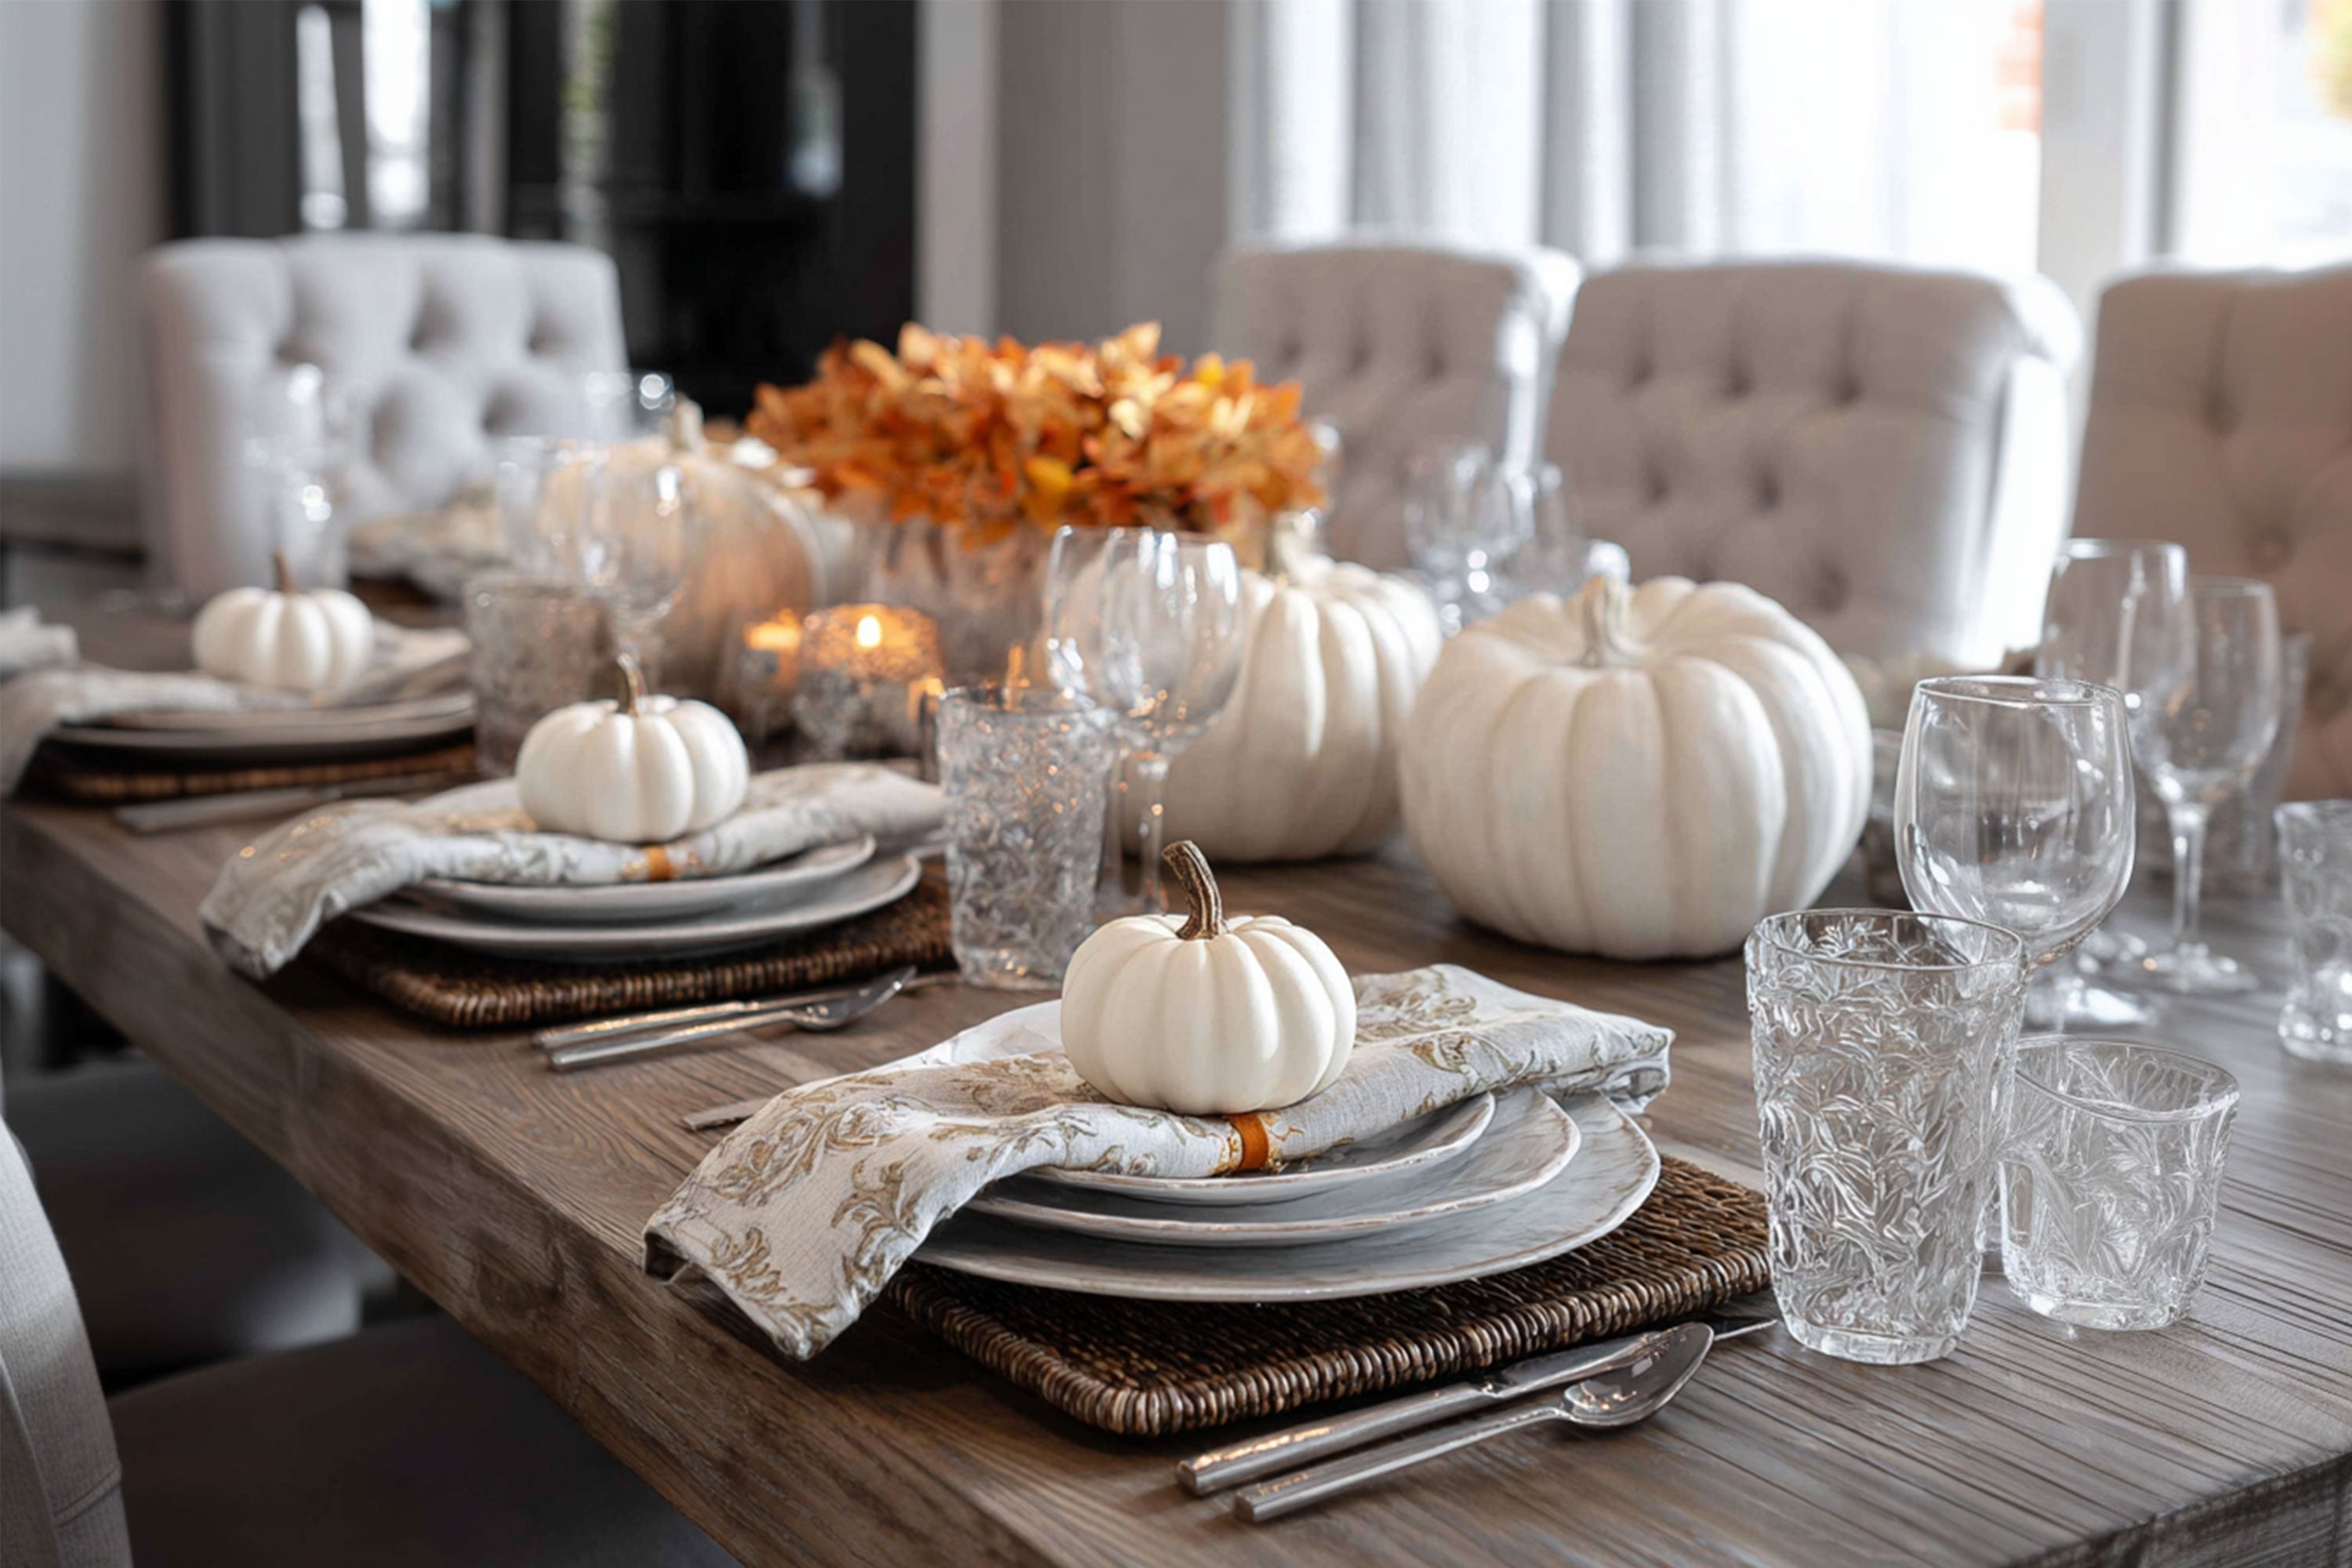
Elevating Your Fall Table with Decorative Pumpkins
Elevating Your Fall Table: The Power of the Humble Pumpkin Napkin Topper
Because nothing says “Thanksgiving hostess with the mostest” like a miniature gourd perched proudly on your dinnerware.
Fall tablescapes are kind of like outfits. Some people throw on jeans and a sweater and call it a day. Others are out here layering textures, mixing patterns, and accessorizing with statement jewelry. Enter: the small pumpkin on a folded napkin - the tablescape equivalent of a silk scarf and perfectly chosen earrings.
This little styling trick instantly transforms a basic dinner plate into something worthy of a magazine spread…or at least a few impressed in-laws. It’s simple, chic, and doesn’t require an MFA in Fine Arts (although if you have one, you’ll probably shade these pumpkins like a Renaissance master).
Also, full transparency: all of the pumpkins in the photos below are AI-generated. I know, scandalous. But think of them as your inspiration mood board. These looks are 100% achievable in real life with a few supplies and a touch of seasonal enthusiasm. And if your “crafting energy” is currently on backorder, saraburnard.com has you covered with decorative pumpkins in every size, shape, and finish at the bottom of this post. Because honestly…sometimes it’s easier to just buy the pretty thing.
Classic Off-White Elegance

How to recreate this look:
- Pick up a few small orange pumpkins from your local grocery store, nursery, or craft store (real or faux — we’re not picky).
- Give the pumpkin a good wipe down to remove dirt or waxy residue.
- Using a soft brush, apply off-white chalk paint in thin, even layers. Let each coat dry before applying the next. You’ll probably need 2–3 coats for full coverage.
- Finish with a clear satin Mod Podge acrylic spray sealer to protect the finish and give it a subtle sheen.
Pro tip: Don’t stress about painting live pumpkins “perfectly.” They’re basically decorative house guests - lovely for a few weeks, and then you toss them after Thanksgiving.
Subtle Stripe Detailing

How to recreate this look:
- Start with the same orange pumpkin.
- Instead of covering the entire pumpkin, gently brush chalk paint only over the raised sections (the “bubbles”) of the pumpkin.
- The recessed areas will remain orange, creating a natural vertical stripe effect. No painter’s tape required.
- Once dry, seal with satin Mod Podge spray for durability.
This look is ideal if you like the idea of a “designed pumpkin” but don’t want to spend your Saturday afternoon painting like Michelangelo.
The Sponged Rustic Chic

How to recreate this look:
- Grab a regular household sponge, the kind that lives under your sink.
- Dip a corner into your chalk paint and dab it around the upper half of the pumpkin, focusing more heavily near the stem and letting the coverage fade downward.
- Leave larger areas of the orange base visible for a more random, organic look.
- Seal with Mod Podge spray once dry.
This technique gives the pumpkin a rustic, weathered vibe. Think cozy farmhouse meets art school experimentation.
Golden Trellis Glam

How to recreate this look:
- Start with a painted off-white pumpkin (like Photo #1).
- Using a gold Sharpie pen, draw diagonal lines across the pumpkin in one direction.
- Then draw another set of diagonal lines crossing the first set at an angle. Not straight like a crossword puzzle, but tilted, creating a trellis pattern.
- For bonus shine, use a broader gold Sharpie to paint the stem.
- Spray with Mod Podge Super Gloss sealer for that mirror-finish brilliance.
This one’s a show-stopper. It’s elegant, glam, and requires only a steady hand and a little patience.
Decoupage Transfers for the Win
![]()
How to recreate this look:
- Begin with your painted pumpkin base (like Photo #1).
- Pick up furniture transfer stickers or decoupage floral transfers - they’re widely available on Amazon.
- Apply according to the package instructions (usually involves pressing and rubbing with a craft stick).
- Seal with either satin or high gloss Mod Podge spray.
The result? Instant heirloom pumpkin with minimal effort. The transfer does all the heavy lifting. You just sit back and pretend you spent hours hand-painting it.
Pulling It All Together: Setting the Table
Once you’ve got your mini pumpkin masterpieces, it’s time to stage them:
- Fold your napkin neatly and place it in the center of your dinner plate. (Rectangular folds tend to look a bit more formal; loose, layered folds look casual and cozy.)
- Place one pumpkin directly in the center - this anchors the place setting visually.
- Surround the look with natural textures: woven chargers, linen runners, a scattering of leaves or eucalyptus, maybe even some twinkle lights if you’re feeling extra.
Bonus styling tip: Vary the pumpkin finishes across your table - mix a few off-white classics with one or two trellis or decoupage versions for contrast. It looks collected and layered without being fussy.
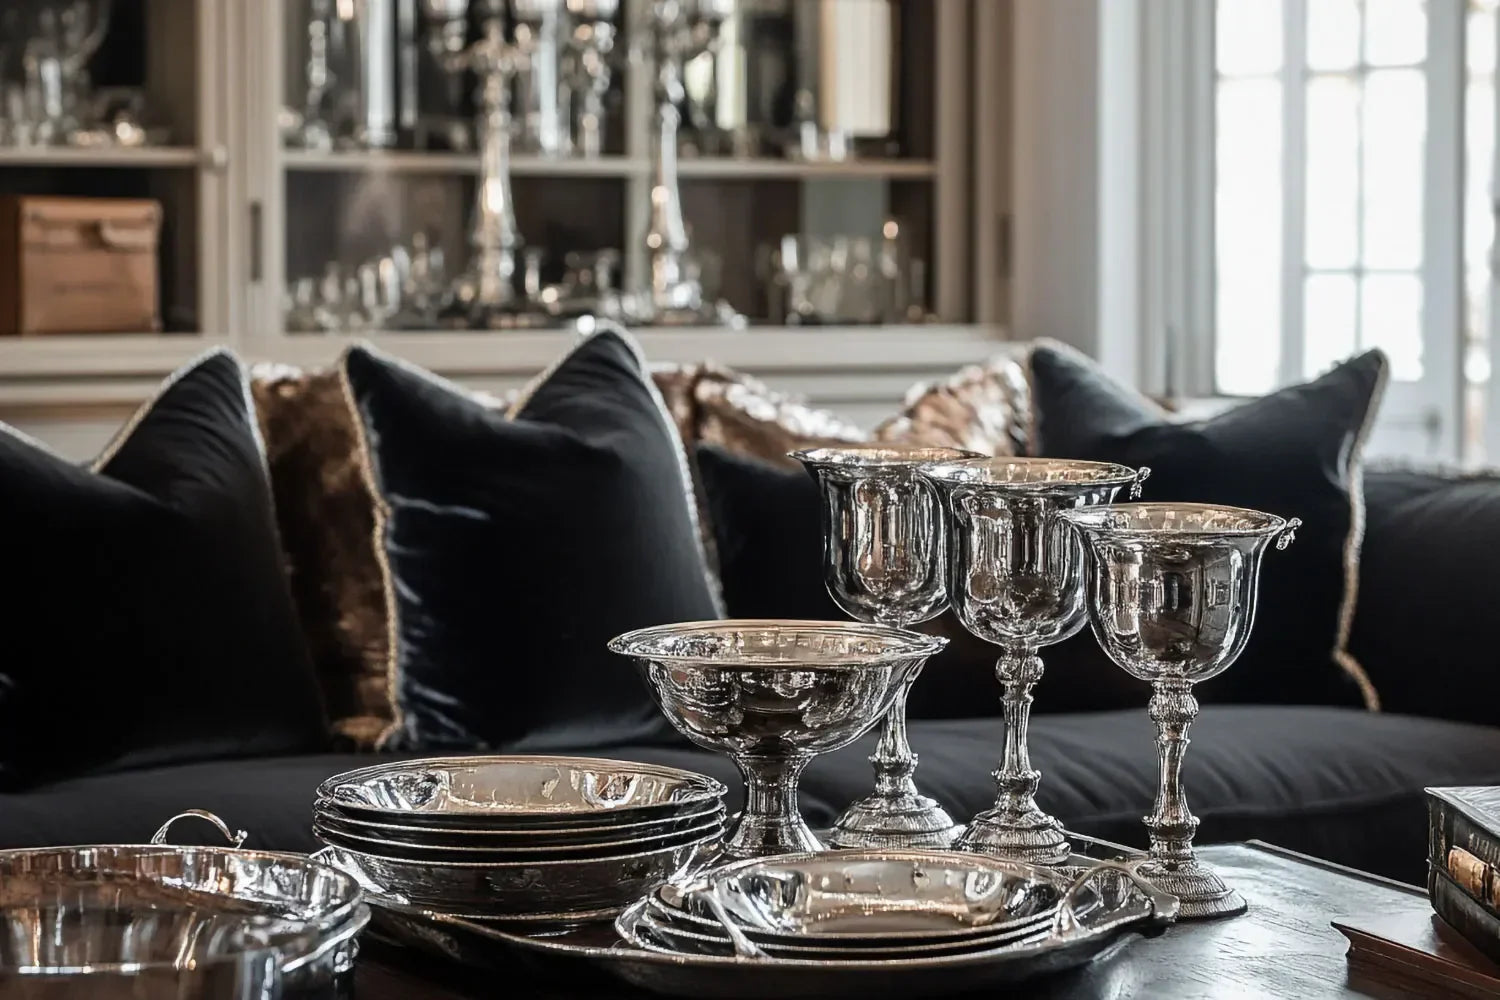
Or…Skip the Crafting Altogether
If the idea of sponge-dabbing and gold Sharpie line-drawing makes your eye twitch, don’t worry - I see you.
Sometimes you want the aesthetic without the effort. Which is exactly why saraburnard.com has curated a collection of decorative pumpkins ranging from porcelain to dramatic metallic centerpieces. They’re chic, reusable year after year, and arrive without a single paintbrush being lifted on your end.
Browse the full pumpkin collection below to shop your favorites.
